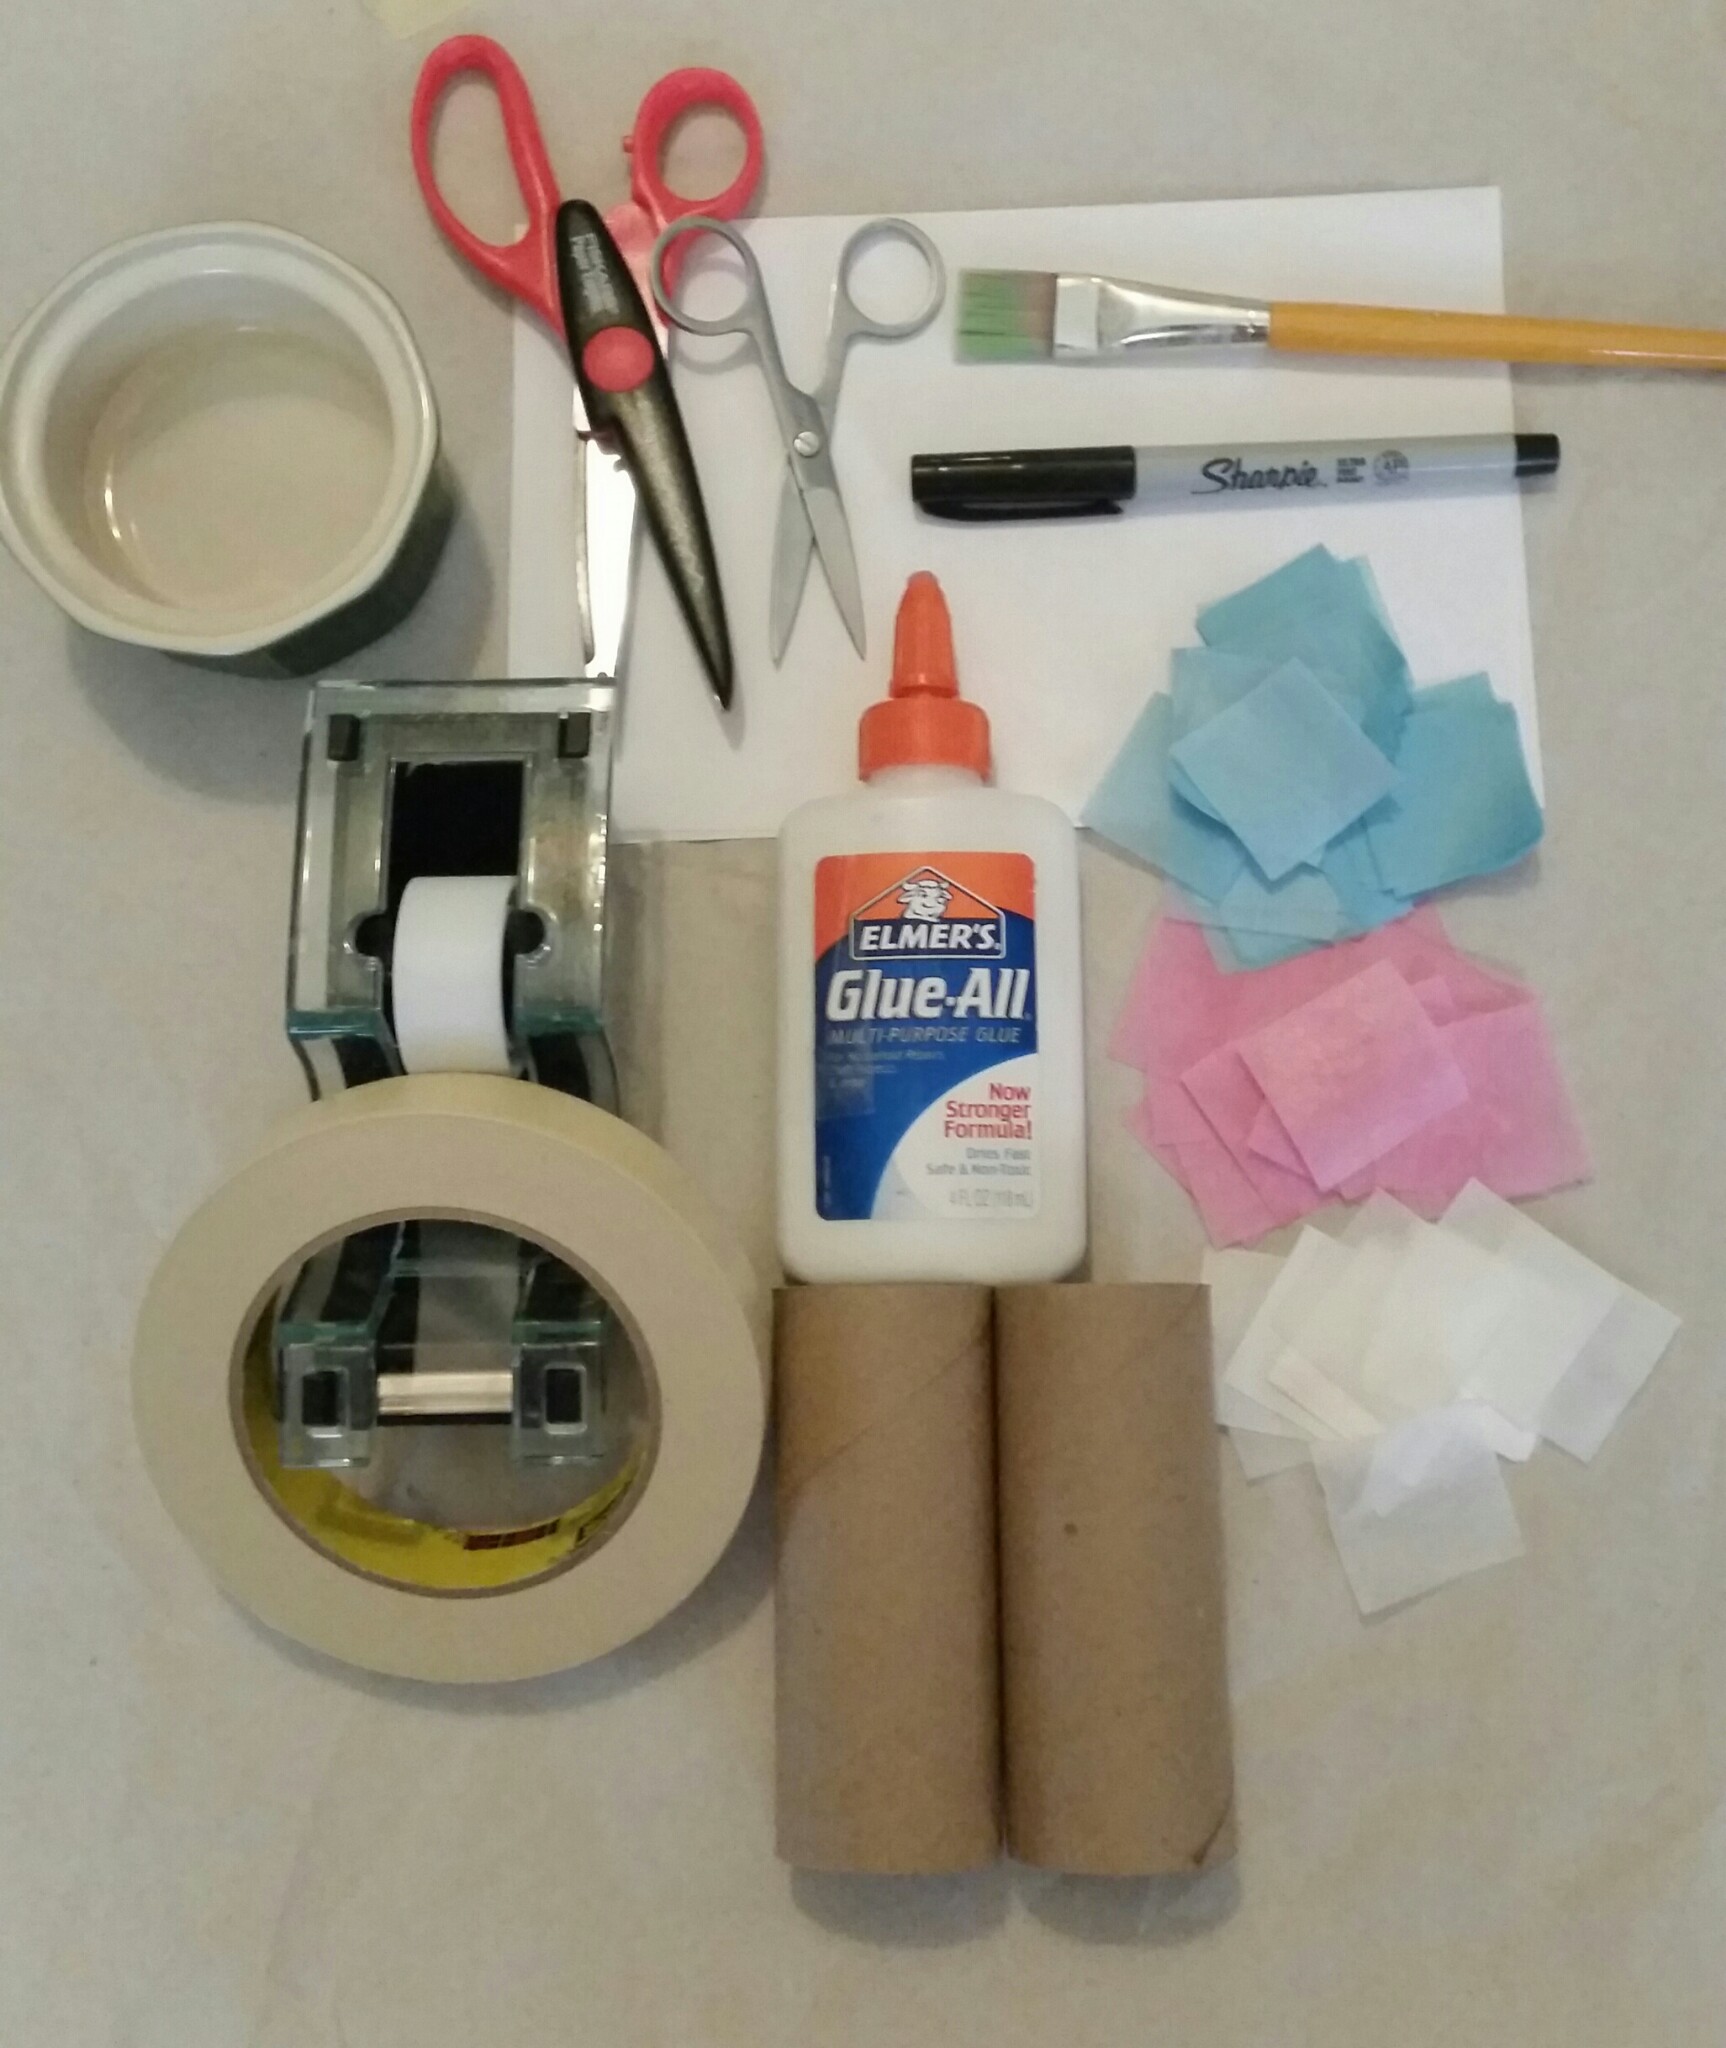
Mini shark materials and instructions…
toilet paper tubes
school glue
paint brush
container for water
packing paper (for the mache/plastering part of project, ripped into irregular pieces no larger than an inch or so)
tape scotch or masking
scissors, zigzag and regular
whatever color tissue paper you want
(paint is fine if you don’t have colored tissue paper…)
black marker
plain white paper for teef
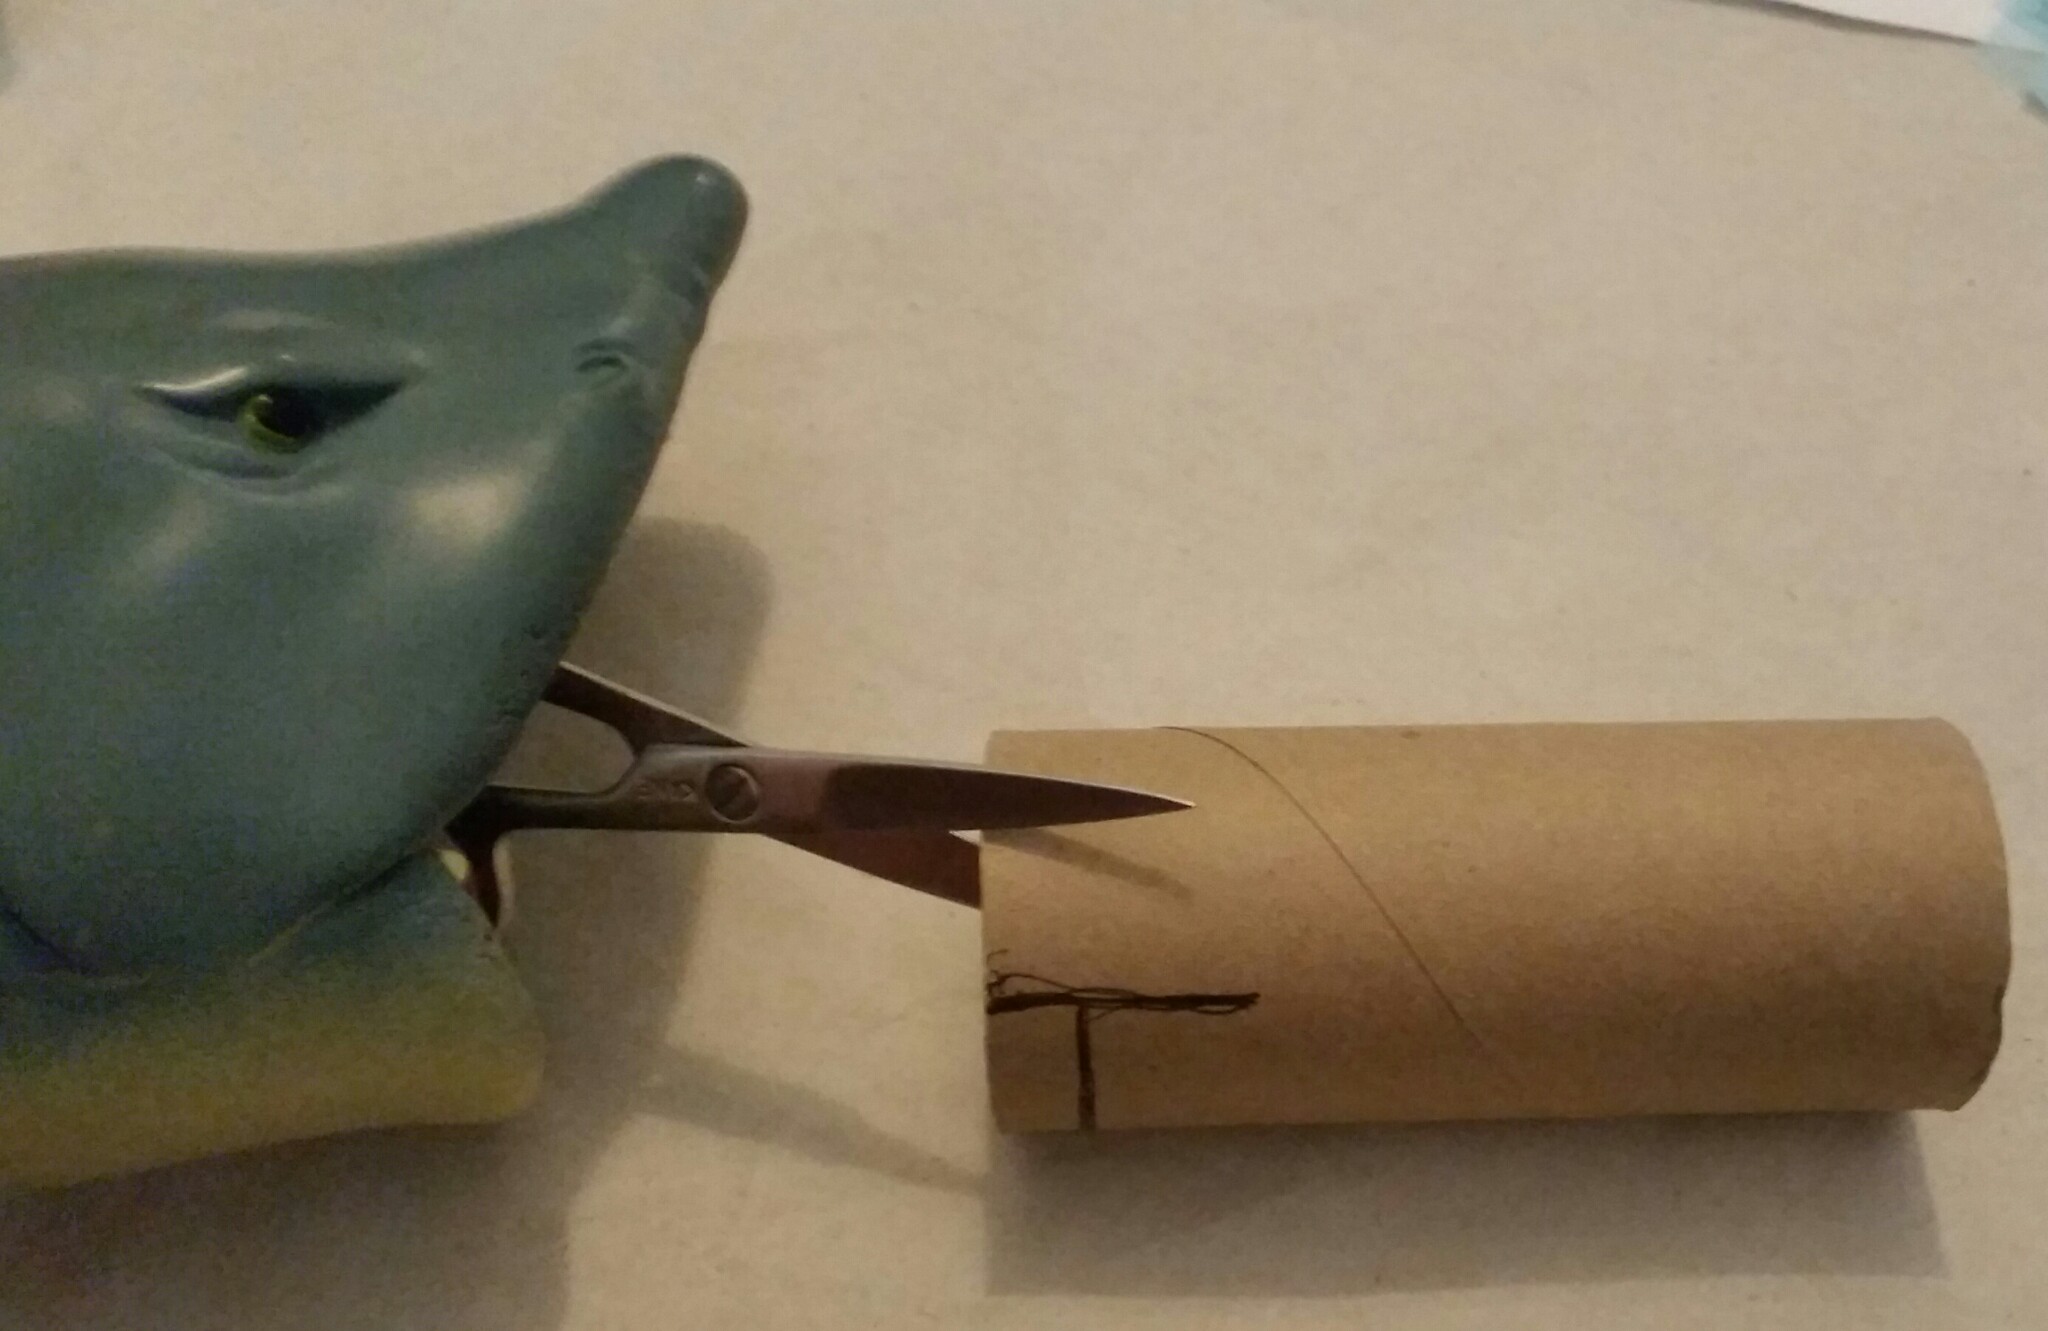
Follow the pictures for step by step…
If you don’t have zigzag scissors, just cut teef on yer own…
For binding paper, I saved the checkout wrapping paper from IKEA, it’s similar to the packing paper used when you move. I like it because it rips well, and takes water and glue mix well.
Use wet paint brush to “pick up” pieces of paper to stick on shark, it’s less messy, and super easy once you do it a few times. Keep brush pretty moist, that’s what small container is for.
While sharks are drying (blow dryer on high works great) cut two strips of continuous teeth, and roll pink tissue paper for gums…you will need these to be dry so when you trim and place them, they’ll be dry and ready. Dry teeth strips in a circular shape, so they will fit better.
I like to make a bunch of these in stages, at the same time…it goes quickly once you hit a stride…
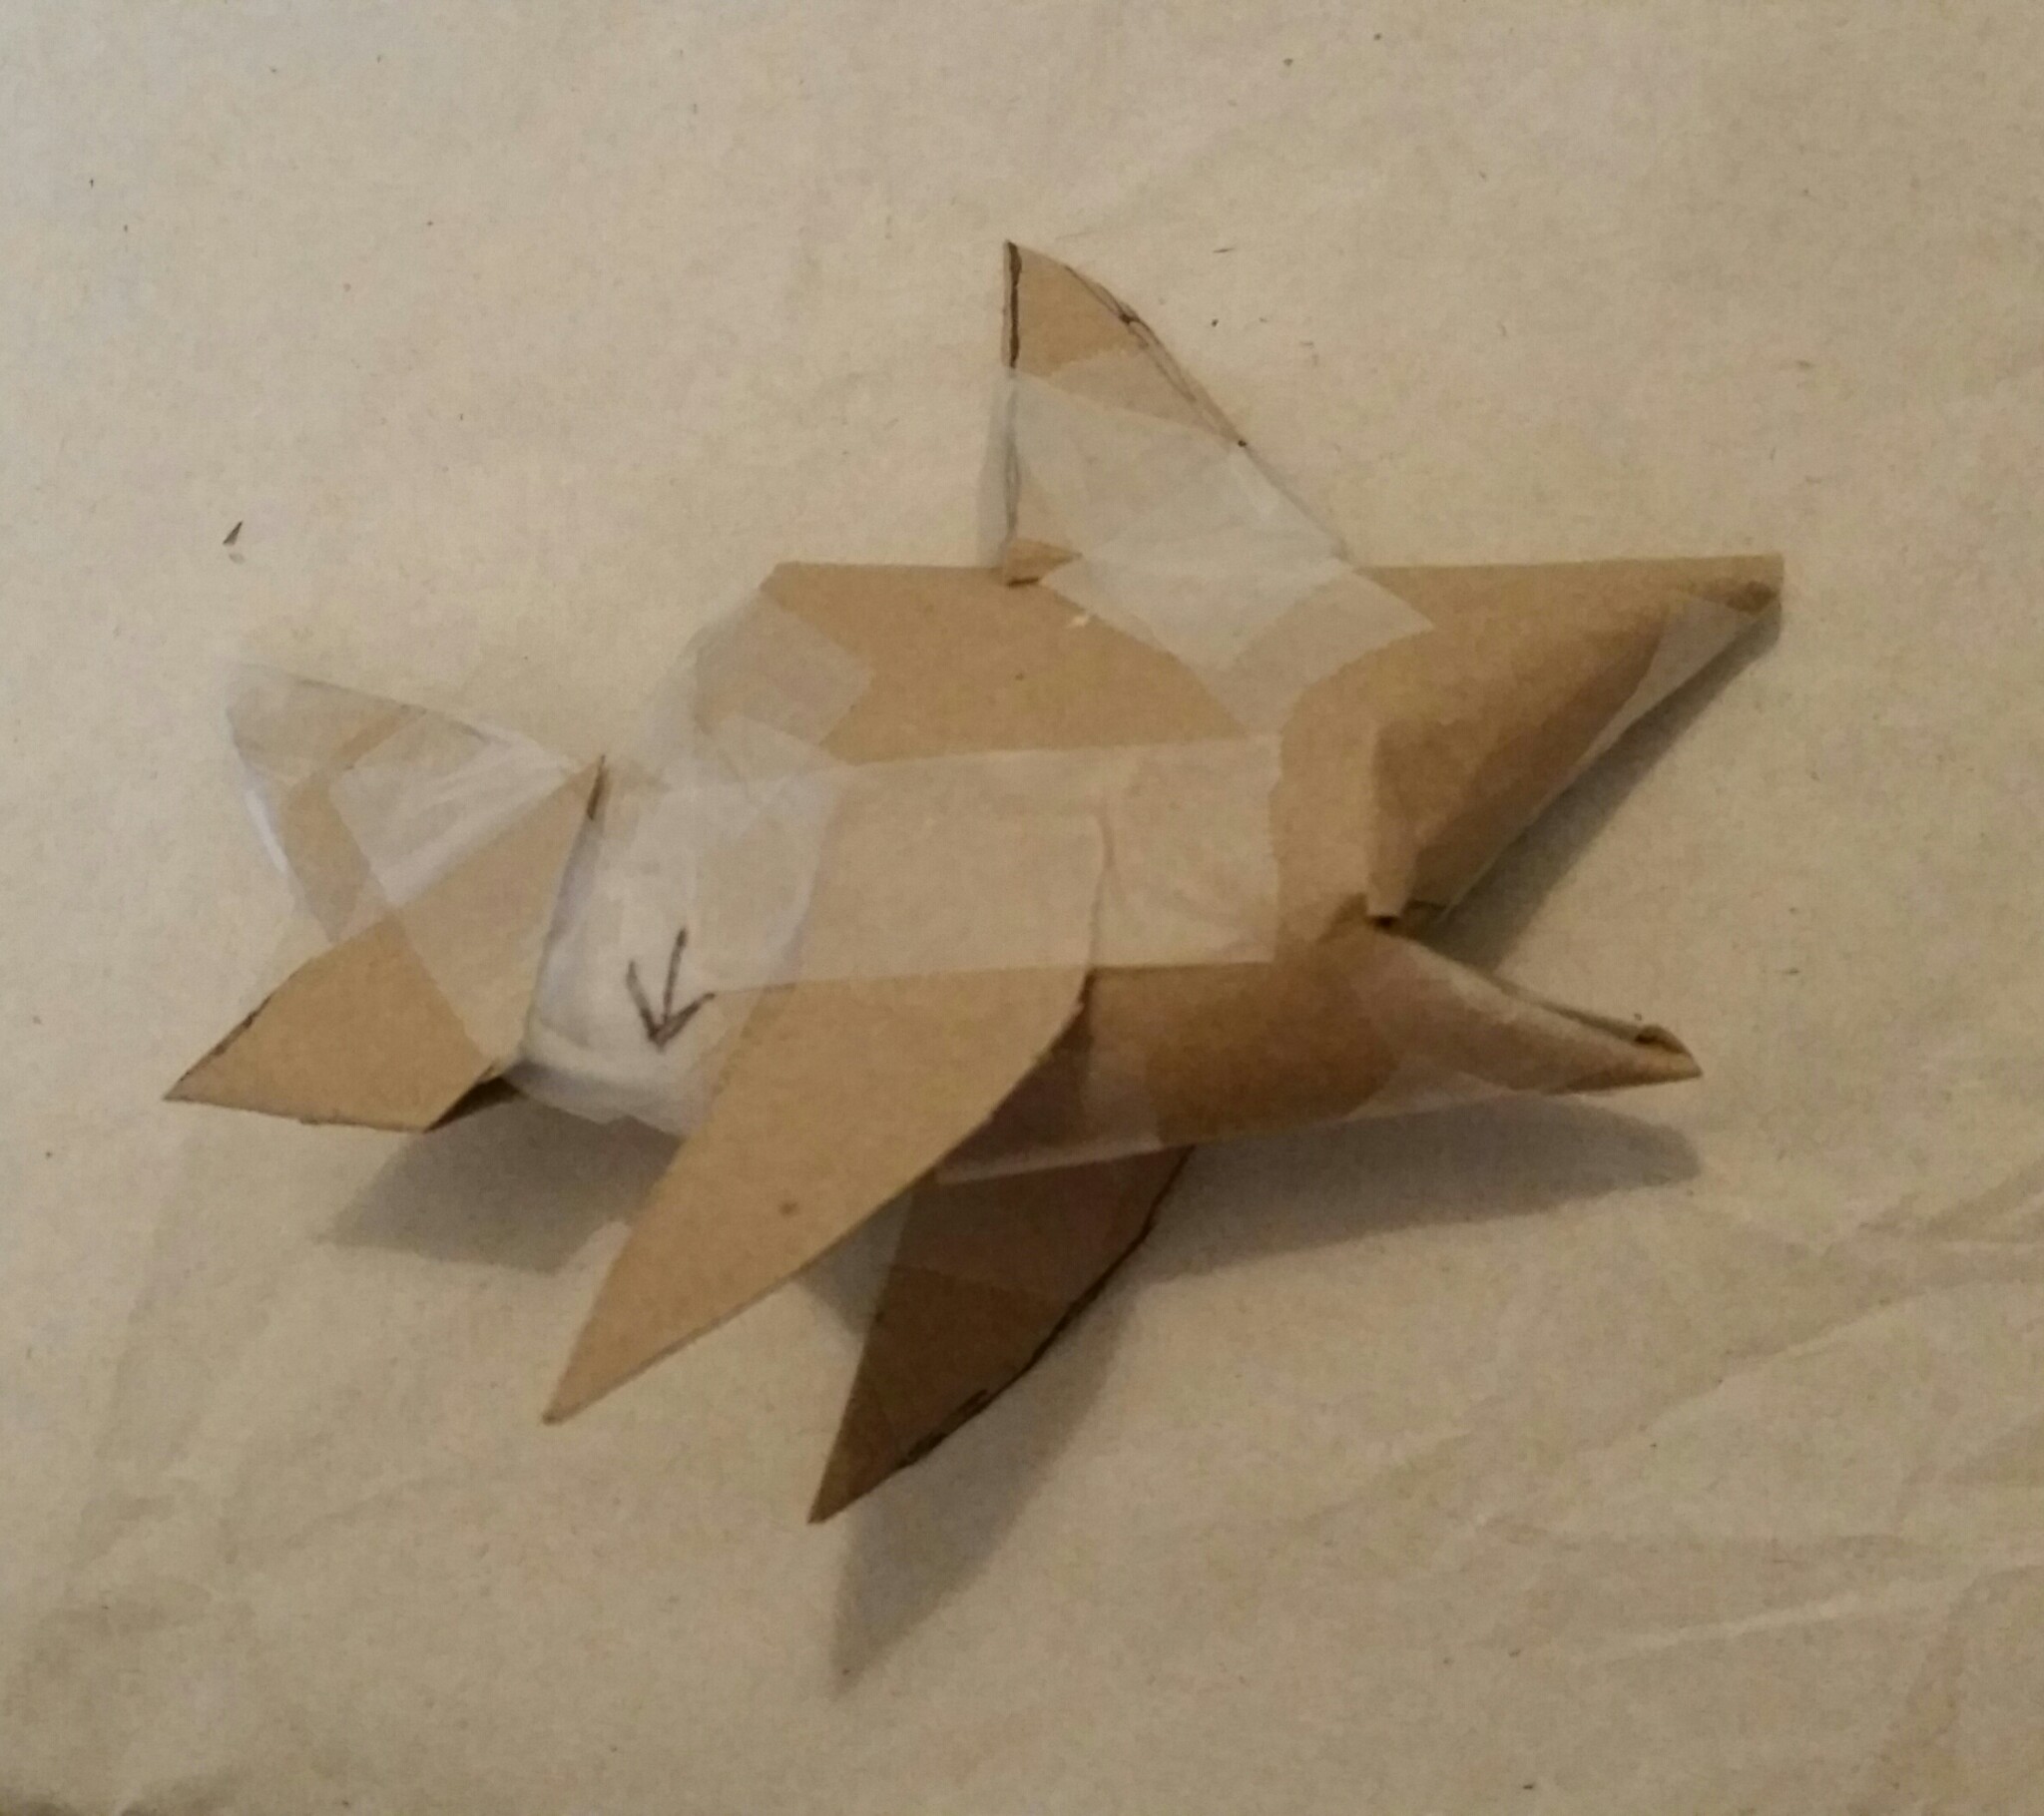
1.) cut tube as marked, about one third so upper jaw is bigger than lower…cut 1/2 strip off lower jaw, fold in and tape both jaws.
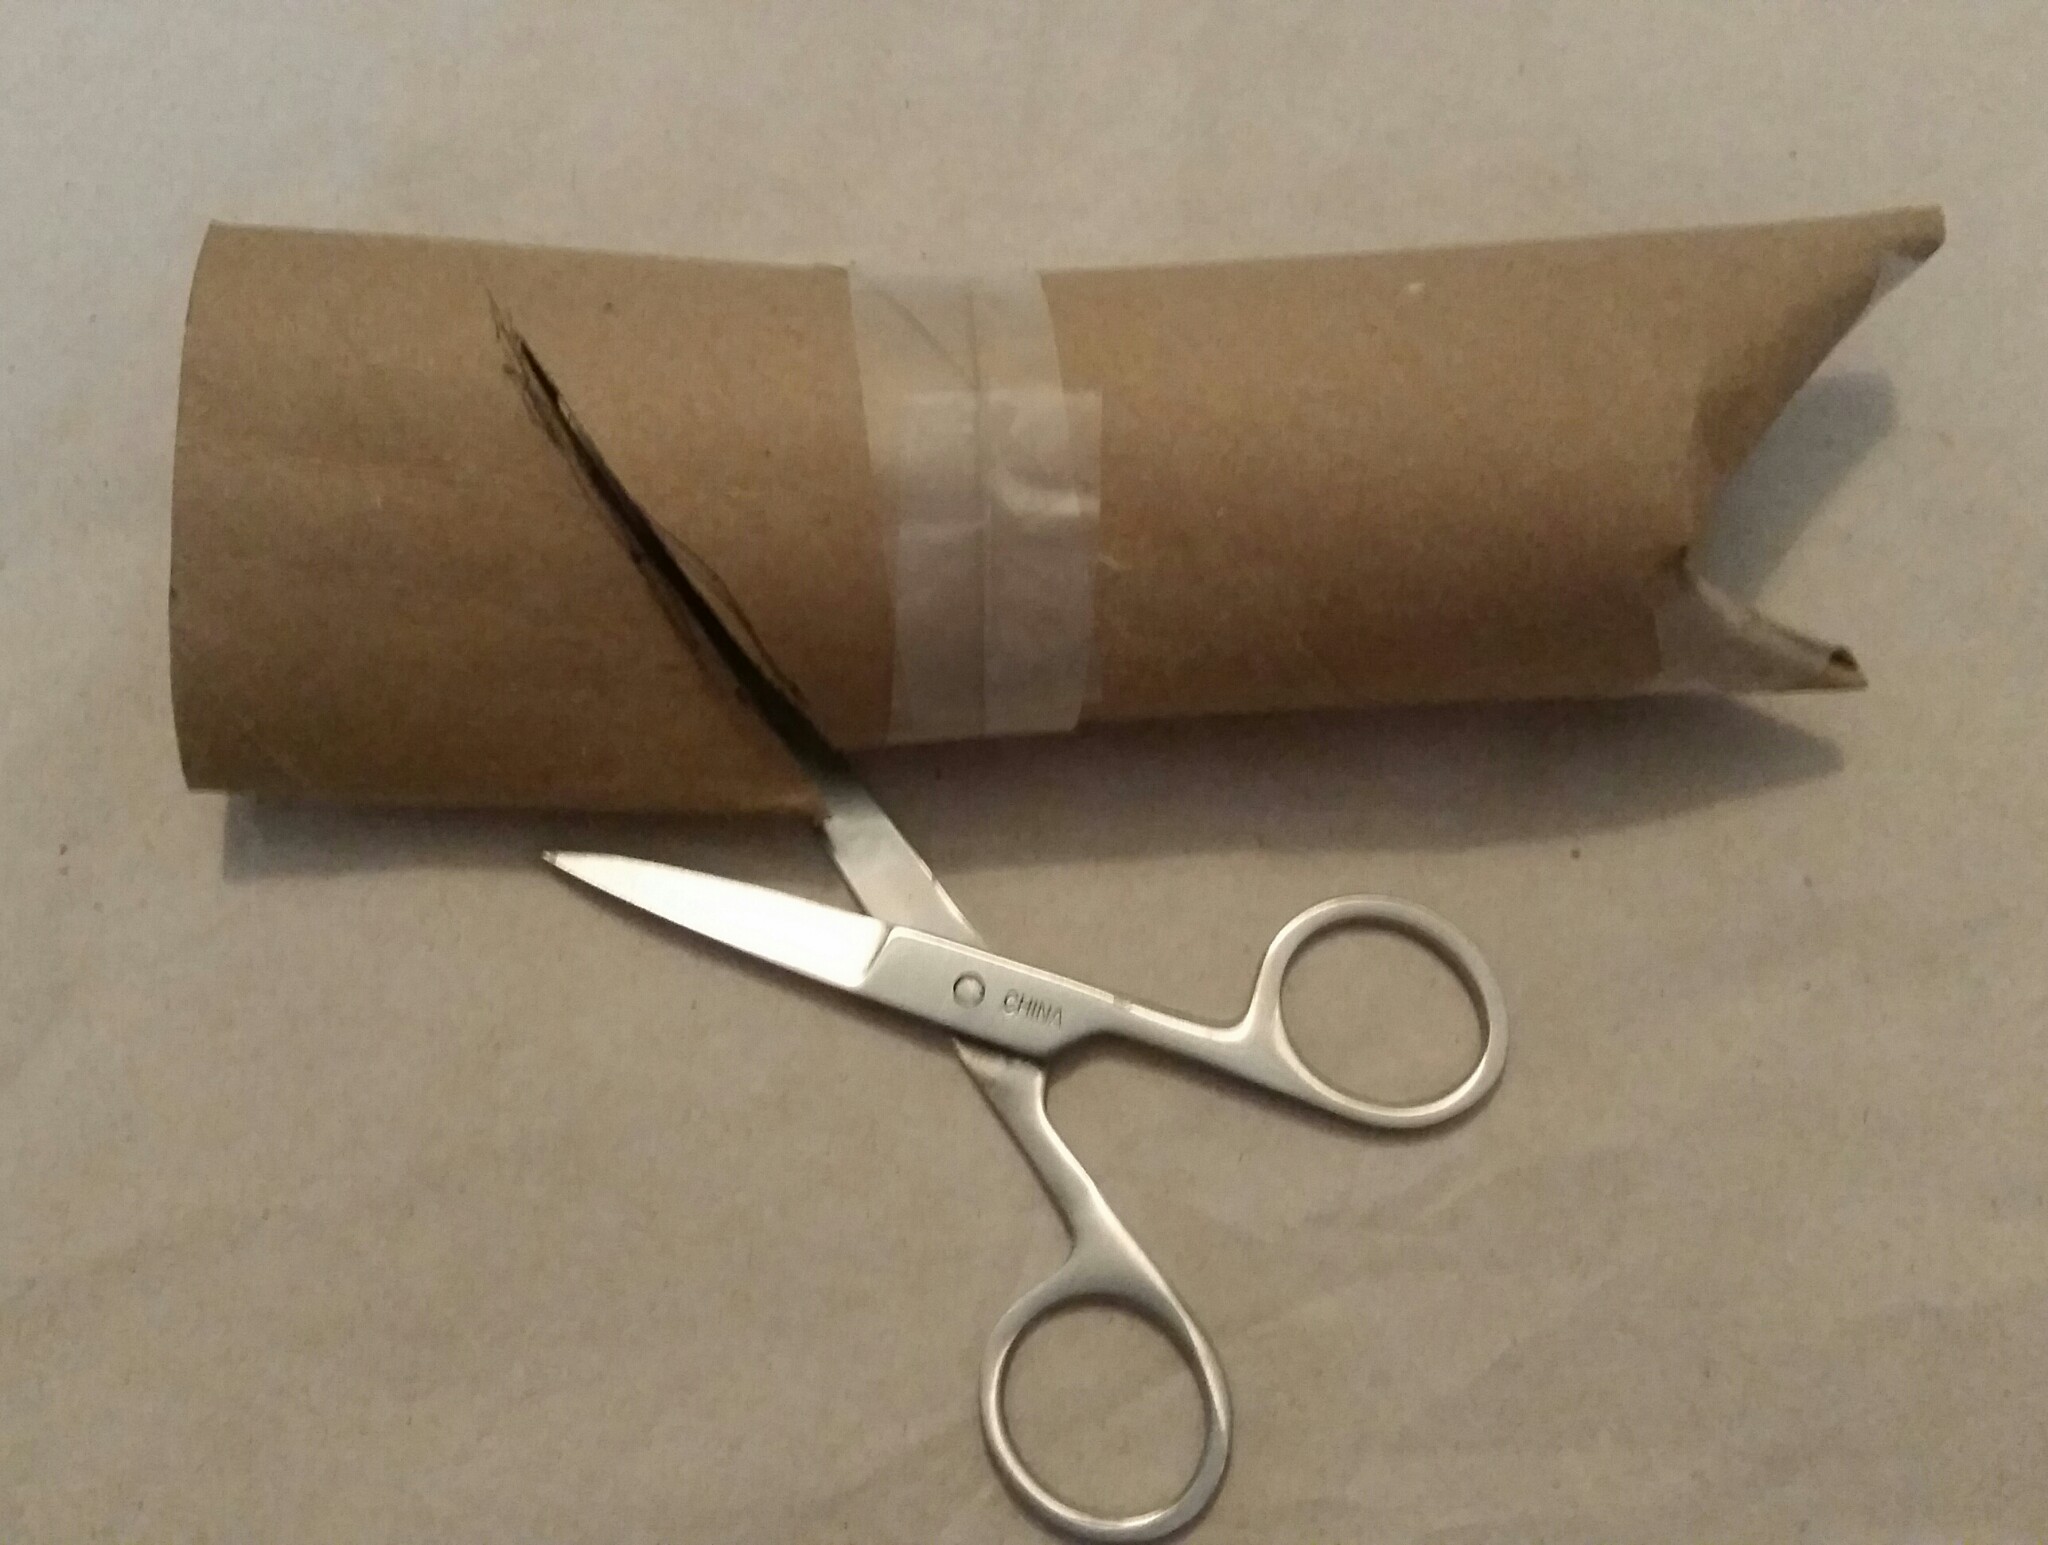
2.) Fit second tube in to first, and tape.
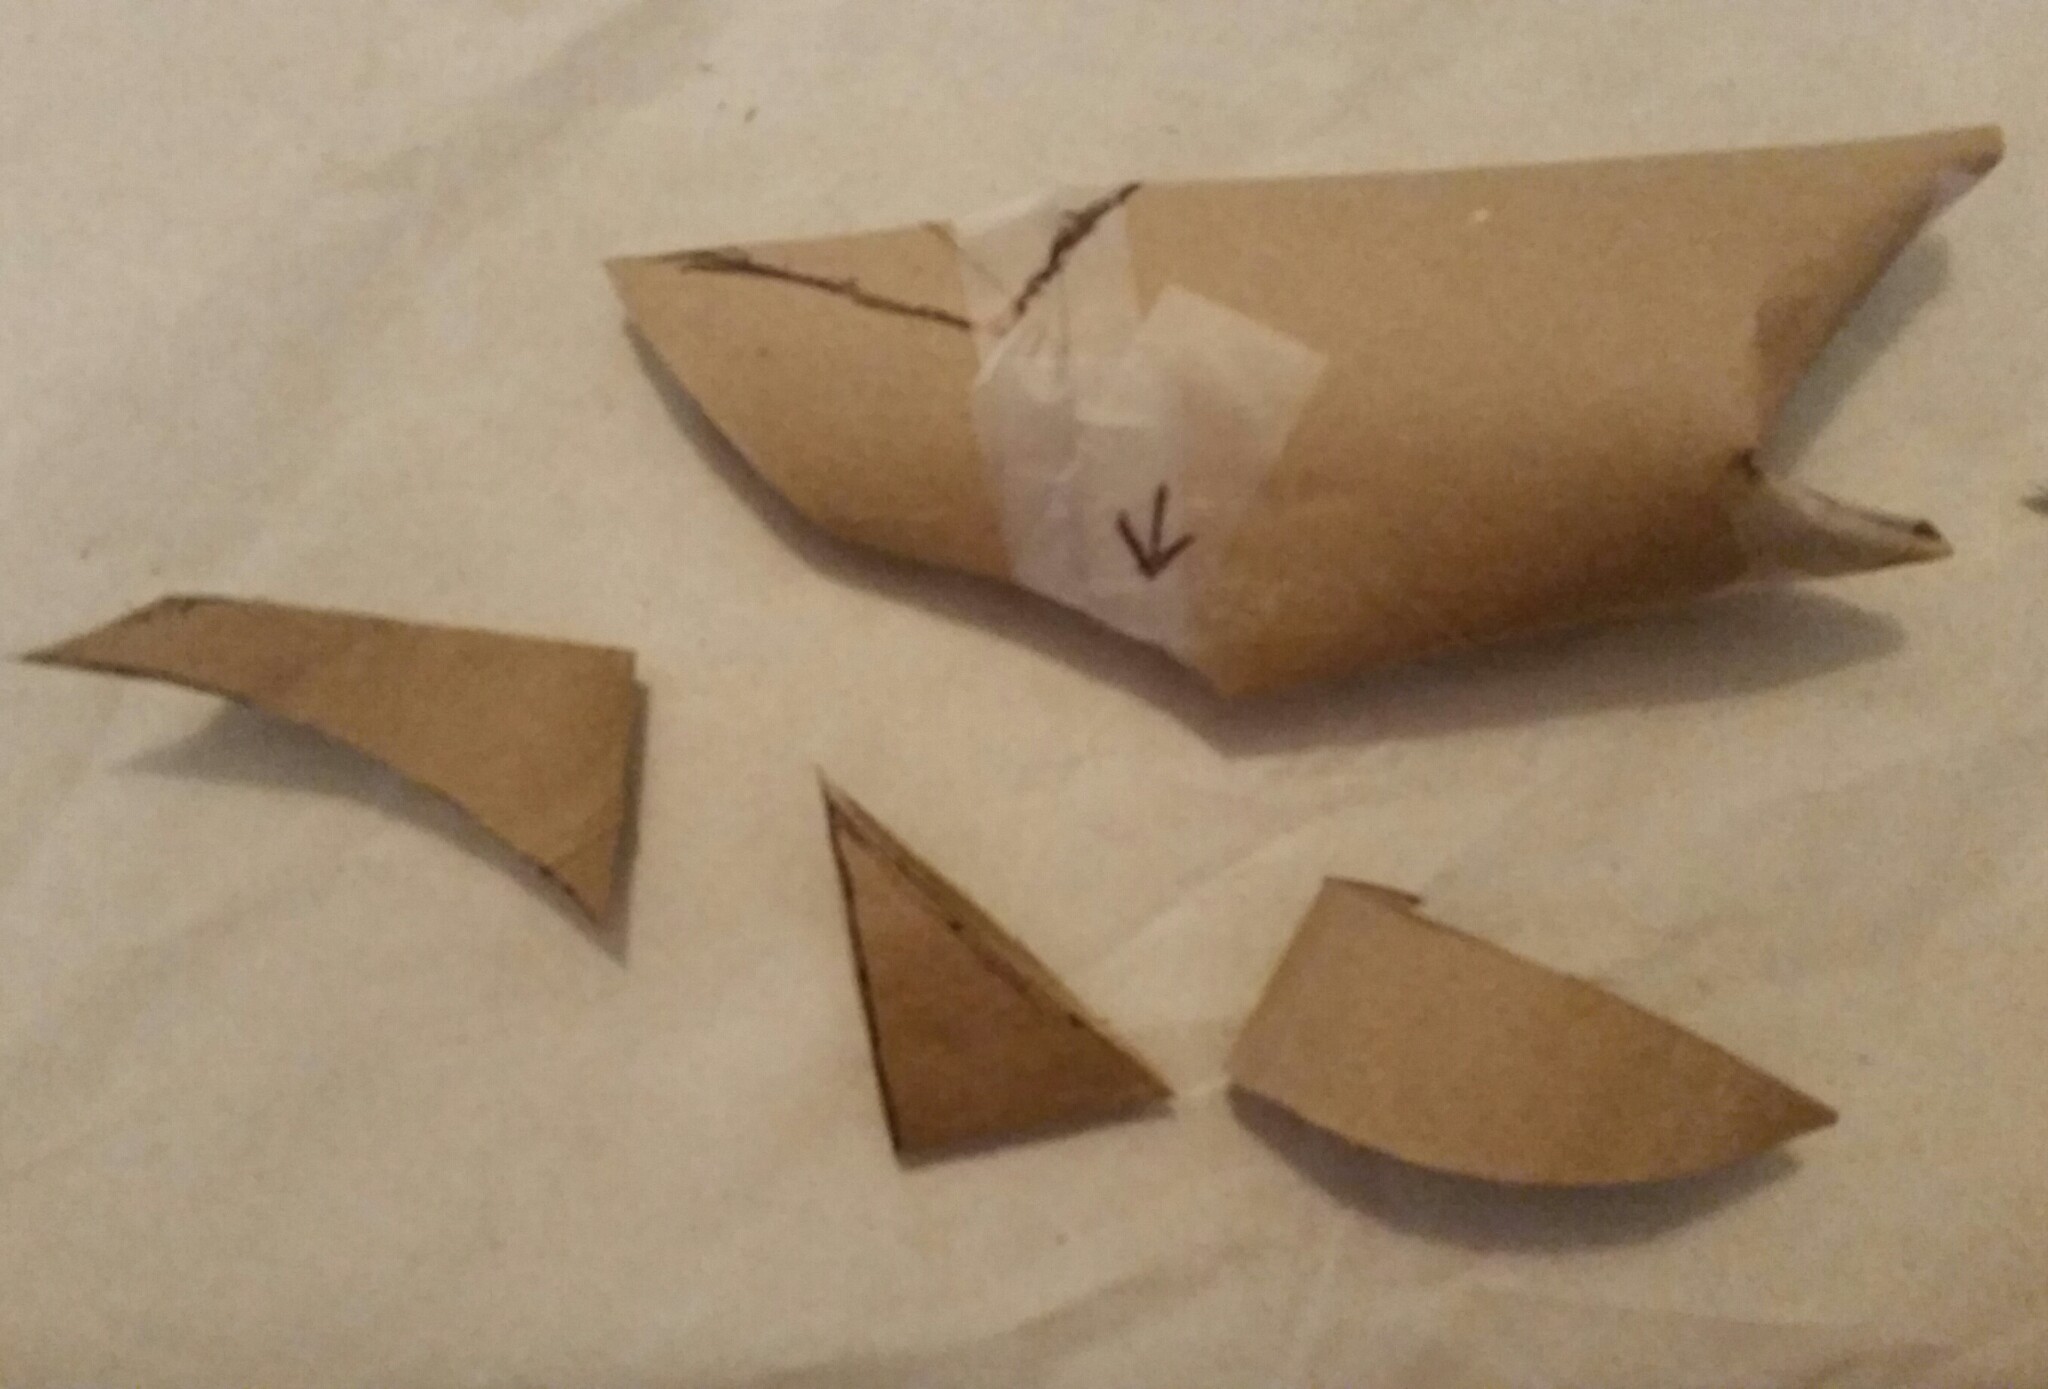
3., 4., 5., cut where marked, you will have dorsal, pectoral, and tail pieces.
6.) tape pieces on to shark, I like to fold an edge down on pectoral fins so they have more body and aren’t so floppy… And dorsal fin should have dimension, a thickness that tapers. Use tape to position where you want it.
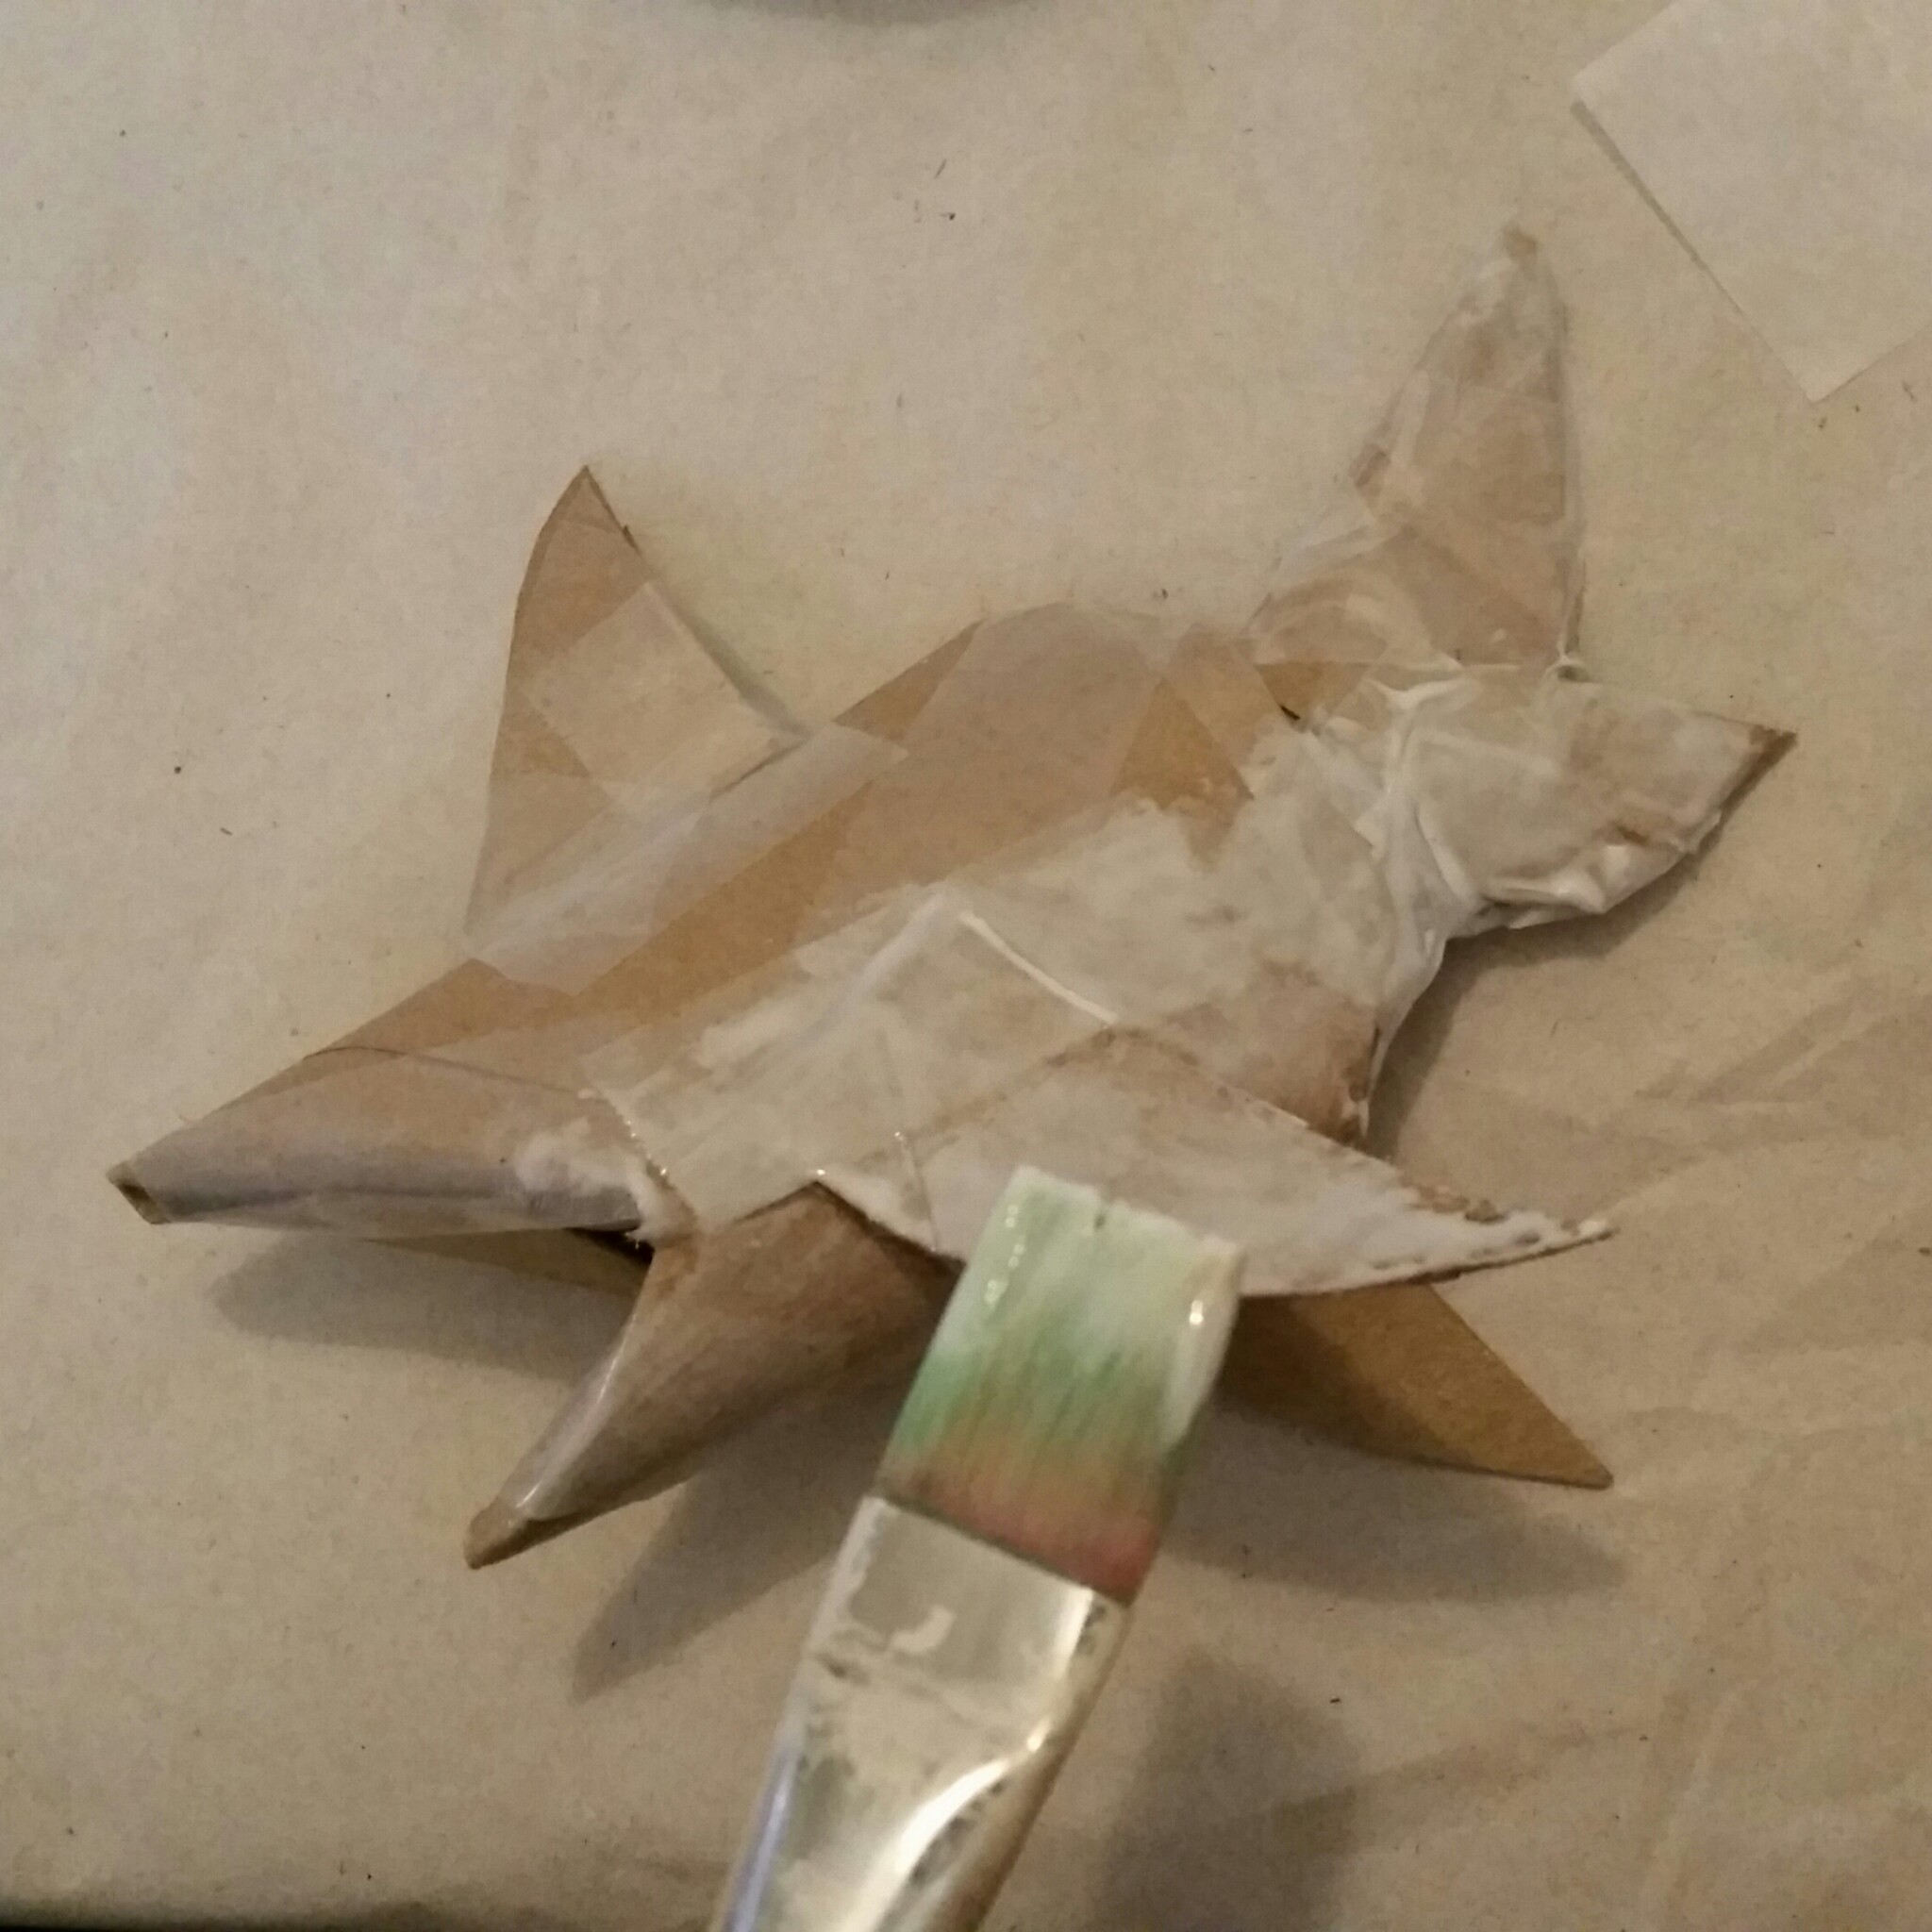
7.) Slap some glue on that bad boy…don’t be shy.
Use we paintbrush to pick up and place ripped up packing paper…I hold by tail, and can get most of the shark with out getting to messy….
Don’t have to be super careful…have fun.
8.) Twirl pink tissue paper into a long rope (wetted fingers work great) and glue as pictured. You will trim right to edge later, after it dries…curl it up a bit…it will be easier to place…
9.) Glue teeth in, (i measure them beforehand and fold them into a shape that fits) then add some eyes.
Mini sharks!
Allison Connery, Kimberly Chapman mary Zeman